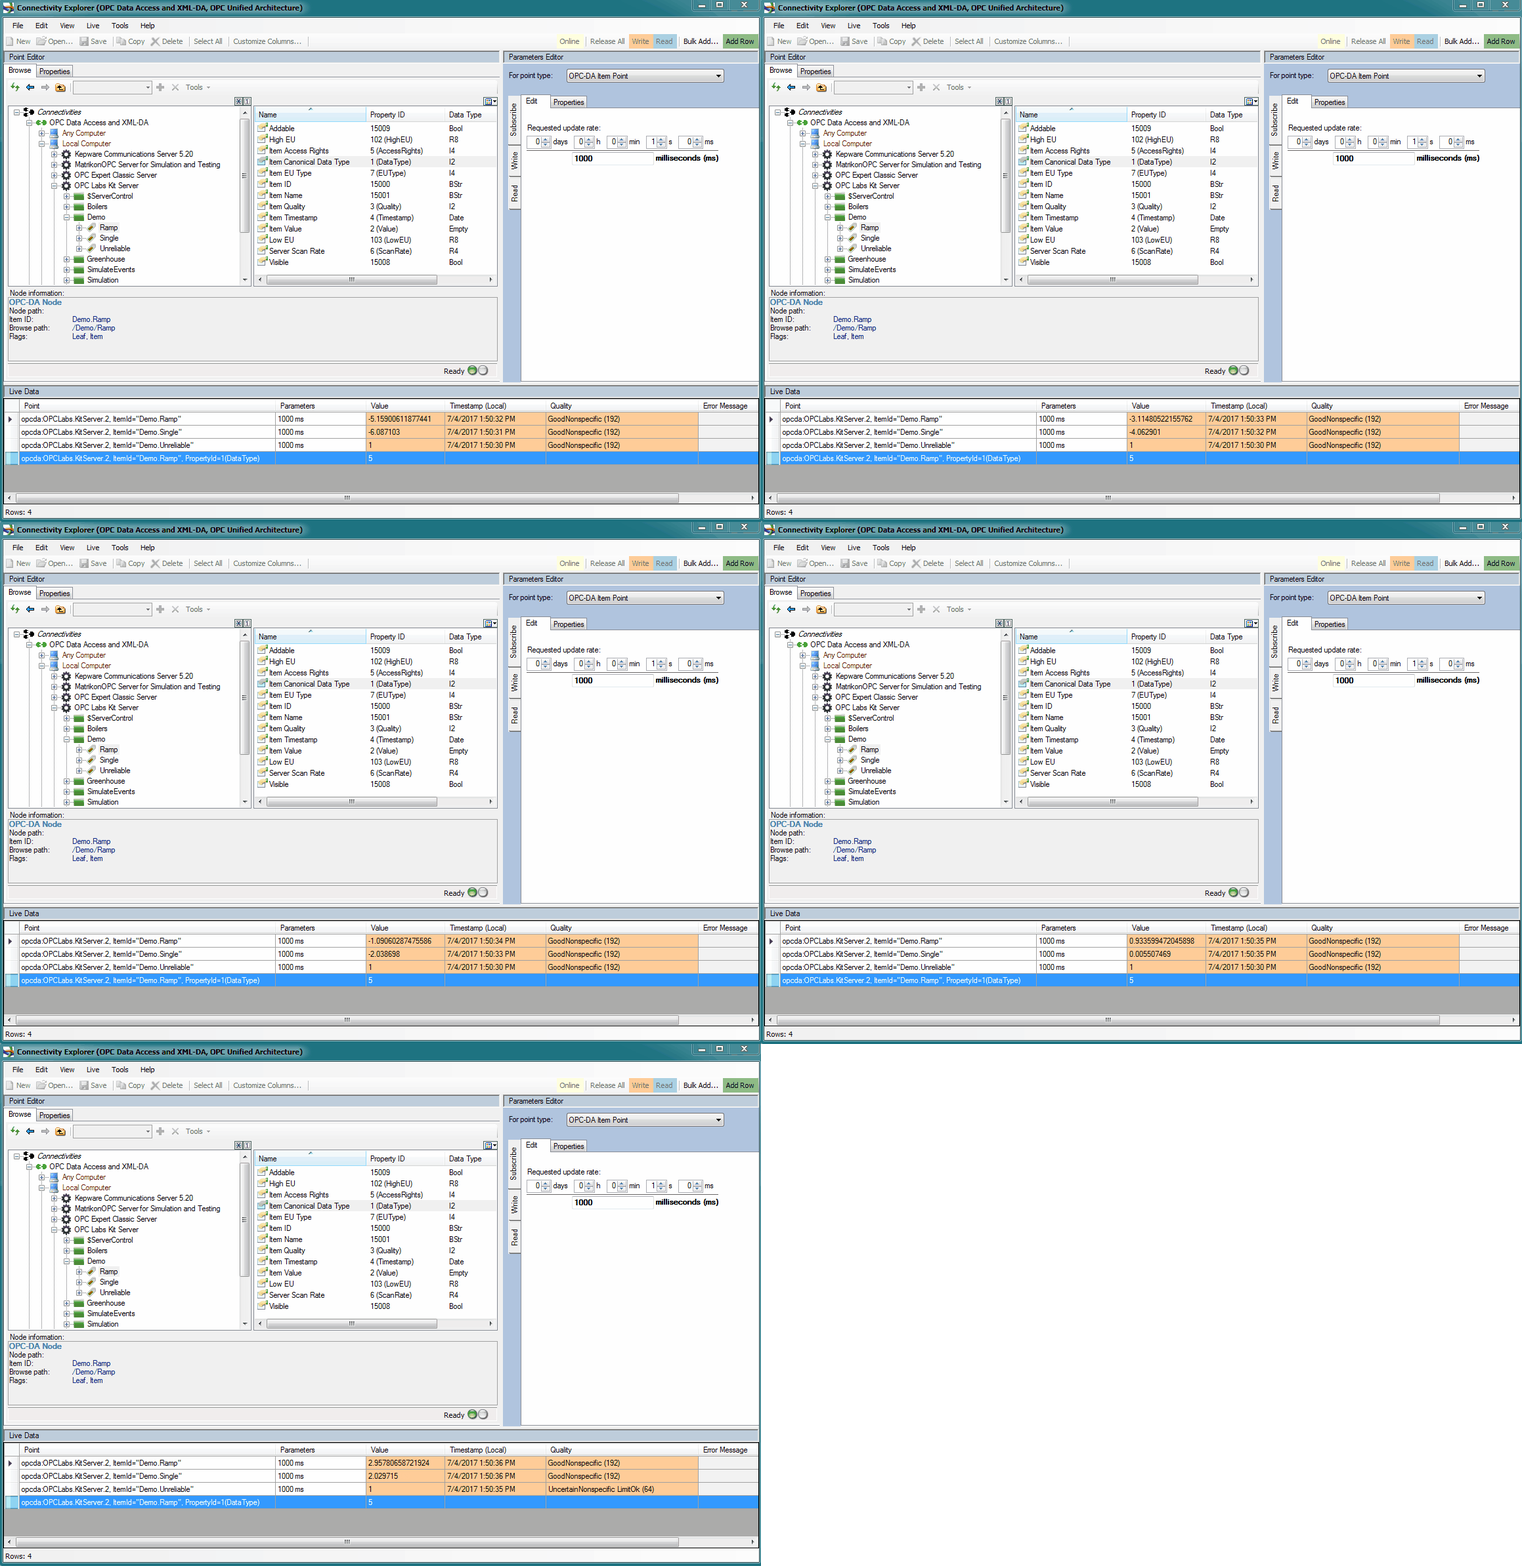
The main window appears after the Connectivity Explorer is started. It contains three sub-windows:
The usual flow of work within the Connectivity Explorer is as follows:
- You select a point in the Point Editor.
- If needed, you modify the associated parameters in the Parameters Editor.
- Using the command (or simply by double-clicking a point in the Point Editor), you create a corresponding row in the Live Point Data window.
- You observe the incoming data in the Live Point Data window, and possibly transfer them (using clipboard or drag-and-drop) to other applications, such as Excel.
- Optionally, you can also perform one-time Reads or Writes.
Below is a picture of main window, with some data already present in the Live Point Data sub-window.

The following articles describe the individual sub-windows.
For OPC UA, the Connectivity Explorer automatically generates its application certificate first time when it is started. This may fail if it is not running with elevated privileges ("Run as administrator"), and you may receive error message similar to "The requested key container was not found" (or other). To resolve this, run the Connectivity Explorer once with elevated privileges.
Workspace
The sub-windows described above are arranged in a workspace that consists of individual cells where the sub-windows can be placed. You can change the layout of the workspace in several ways:
- The splitters between the cells can be used to resize the cells.
- You can drag the cell page onto another cell and drop it there, or dock it against a border of a cell or the whole workspace. Start the drag-and-drop on the caption area of the cell page.
- Right-click on the cell page gives a context menu with commands such as , , or .
Closed sub-windows can be reopened using corresponding commands on the menu (see Application Commands).
See Also


